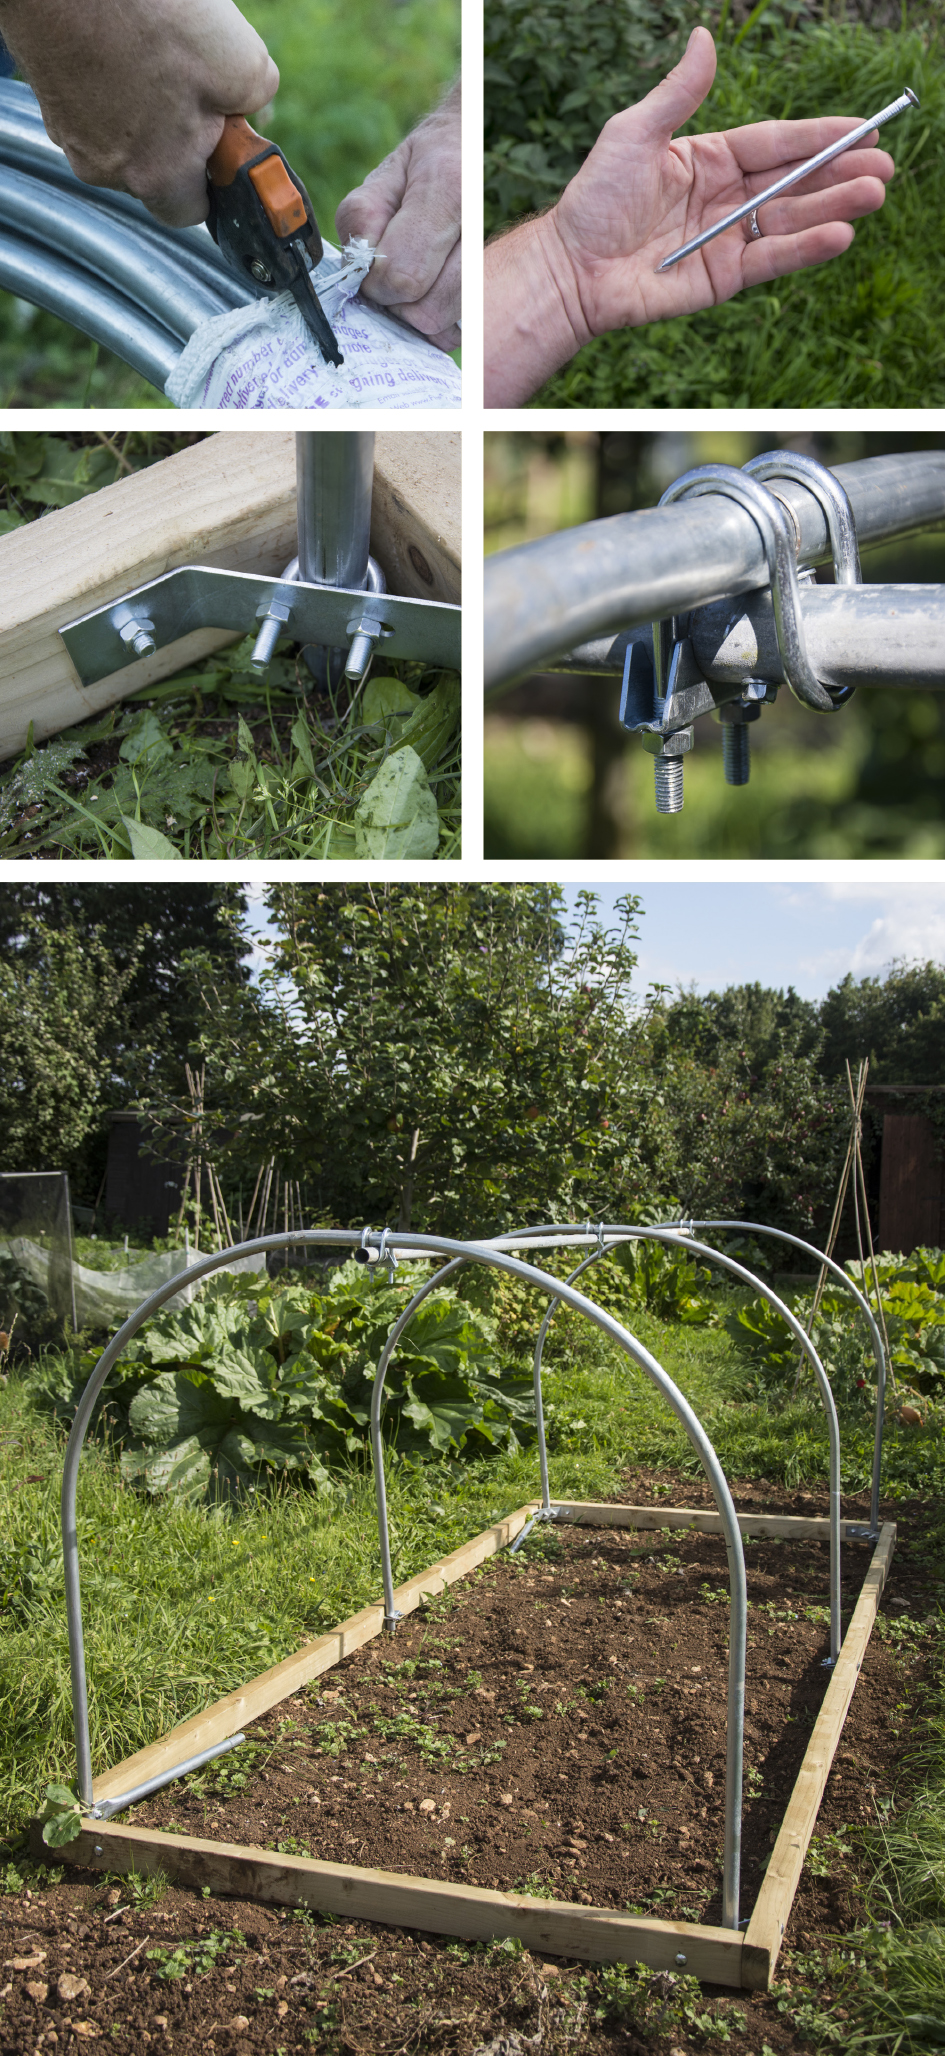
We often find ourselves drooling over the numerous polytunnels that can be found dotted over our allotment site, and dream of owning our very own to grow fruity exotica and hothouse veggies (and to maybe fill with the junk that we can’t fit in our shed). As luck would have it, First Tunnels recently contacted us and offered up one of their rather natty ‘mini tunnels’ to test. We put our name down for a 10 ft x 4 ft tunnel, which arrived promptly after ordering.
After waiting for the summertime rain to subside (approx three weeks after receiving the tunnel) we finally got round to hauling the constituent parts over to the allotment for assembly. And here are our thoughts…
You’ll want to enlist a friend to help put this polytunnel together and set aside at least half a day, as it’s deceptively DIY intensive: holes need to be drilled, wood needs to be cut to length, screws need to be lost in the long grass, swears need to be bellowed. We would also heartily recommend reading the instructions first* before heading off down the allotment as you’ll need a few tools at hand to do the job. A cordless drill is a must; you’ll need a saw for cutting the timber to length, a big old hammer, and a heavy duty stapler for fastening the cover into position.
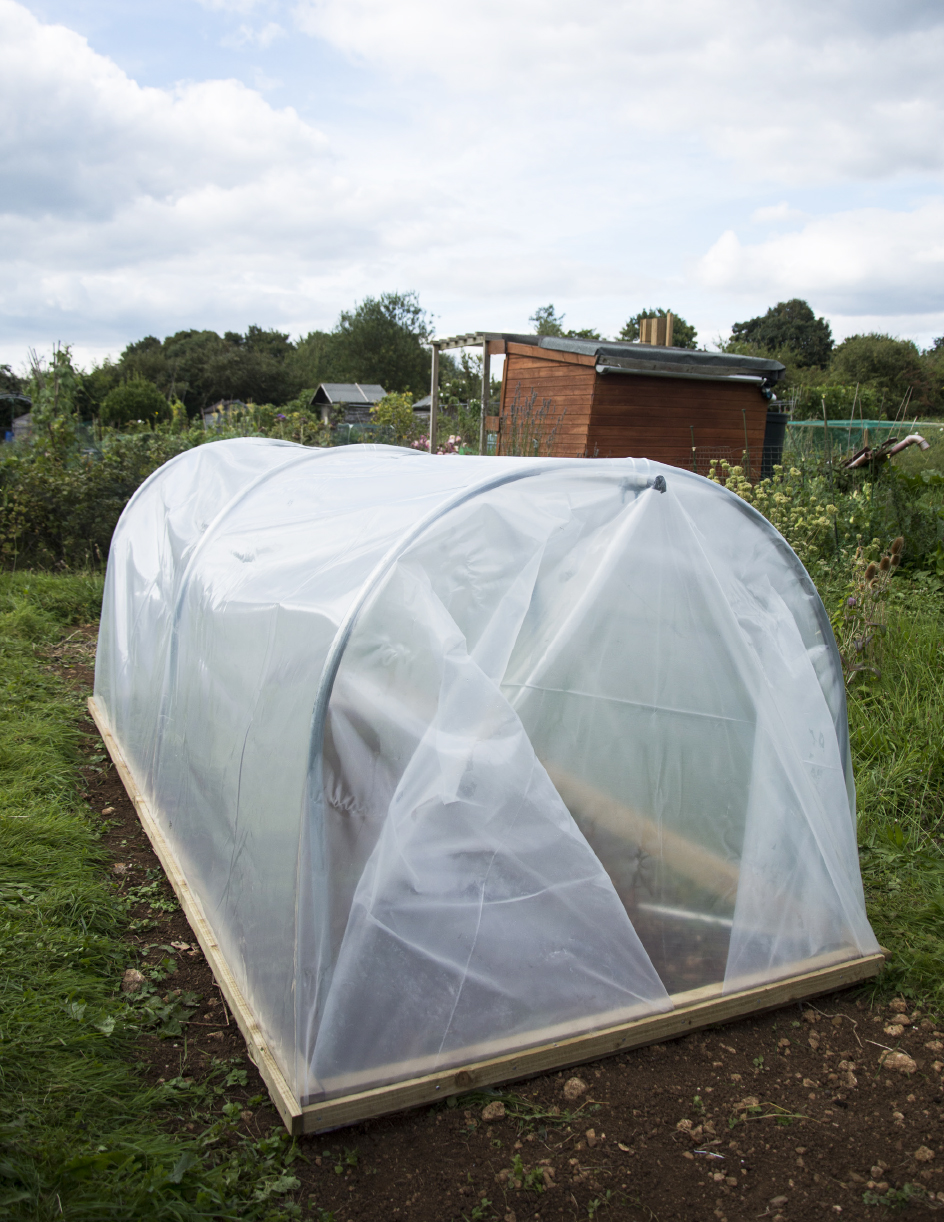
The frame fits together relatively easily and is held firm by some of the BIGGEST nails you have EVER seen**, coupled with four sturdy corner brackets that are bolted onto the joists. The biggest challenge was covering the frame with the poly sheet – it requires a certain amount of skill to keep the cover taut whilst stapling it to the joists and adding the retaining batons. Tying up the end sections in a neat fashion was also particularly fraught; an aptitude for wrapping Christmas presents would come in very handy during this stage of proceedings. Sadly, it’s a skill we lack, hence the rather shoddy looking result pictured below. In our defence – it was getting dark and was nearly tea time***, so we rushed it a bit.
When fully constructed, our mini poly tunnel stood firm and proud and glistened magnificently in the fading sunlight. It’s a pretty weighty unit, so hopefully it’ll be able to repel the cross winds**** that tend to whip through our allotment. We’ve often watched***** fellow allotment holders’ compost bins take flight and crash through other peoples plots, but we’re counting on our tunnel to remain steadfast.
We are slightly apprehensive on the amount of ventilation that the tunnel will be able to provide – there are fold down legs that the unit can stand on for heat relief during hot spells – but we’ll have to wait until next year to test this out properly. For now, our tunnel is being used to house prematurely harvested pumpkins that were rescued from our mildewy pumpkin patch, and we can report that they are ‘orange-ing off’ nicely. Next year we will be stuffing our tunnel with hot chillies and maybe a melon or too, but for now, so far, so good…
*An unnatural act which goes against all our principles.
** See top picture, top right. Admittedly not the best indicator of scale. For all you know, I might have minuscule, Trump-esque hands that make tiny nails look MASSIVE.
*** Sausage, chips, beans.
**** and we’re not talking about the old chap on the allotment who bugles the ‘Reveille’ through his bum cheeks every time he bends over to to tend his onion sets.
***** Watched, laughed, taken photos, then retrieved.
=-=-=-=-=-=-=-=-=-=-=-=-=-=-=-=-=-=-=-=-
Our poly tunnel was supplied by First Tunnels.
Price: from £90
Go here for more info
=-=-=-=-=-=-=-=-=-=-=-=-=-=-=-=-=-=-=-=-
The post Review: The Mini Polytunnel appeared first on Two Thirsty Gardeners.
from Two Thirsty Gardeners http://twothirstygardeners.co.uk/2017/09/review-mini-polytunnel/


No comments:
Post a Comment